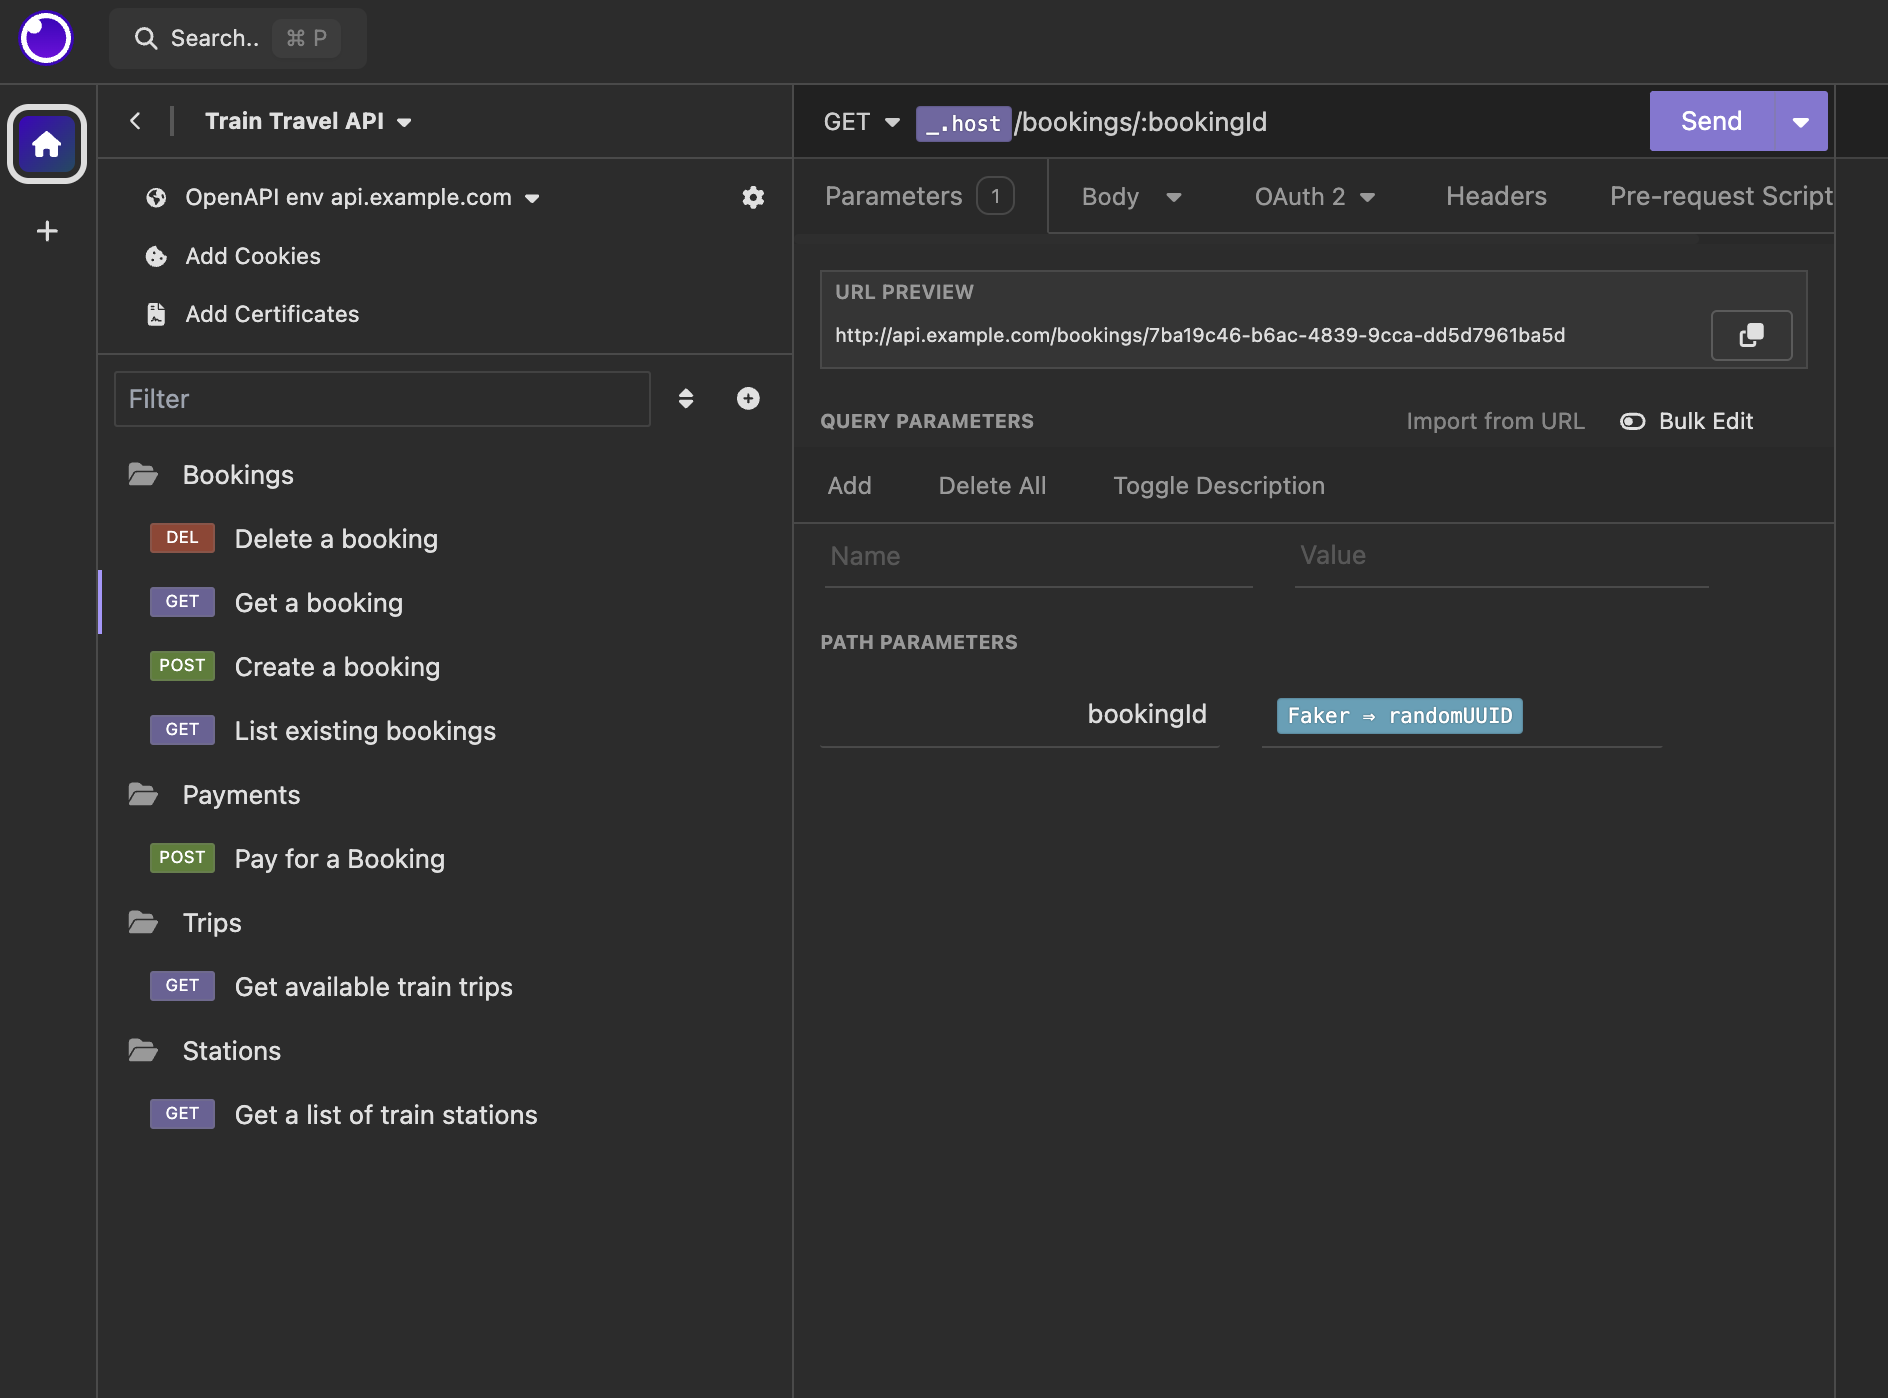
Try HTTP Requests with Insomnia
Seeing how an API works is the first step in an end-users journey to using the API, and the second step is making some test requests to get a feel for how it works. Some people like to do this with code, so code samples will be a good start for them, especially if the API has an SDK. Other people like to do this with interactive HTTP clients, like Insomnia.
Insomnia is a lightweight API console, which allows users to create or import “collections” of requests and responses. This concept is similar to OpenAPI, but instead of creating a list of metadata about requests/responses, it focuses on saving actual requests and responses, like a whole bunch of bookmarks in a browser.
This guide will show you how you can get started by building an Insomnia Collection from the same OpenAPI that powers your Bump.sh documentation, then create a “Run in Insomnia” button to link users to this collection from your Bump.sh API docs.
Step 1) Sign up for Insomnia #
First you’ll need to make a free account with Insomnia. Head over to Insomnia’s website and click Get Started for Free.
Step 2) Download Insomnia #
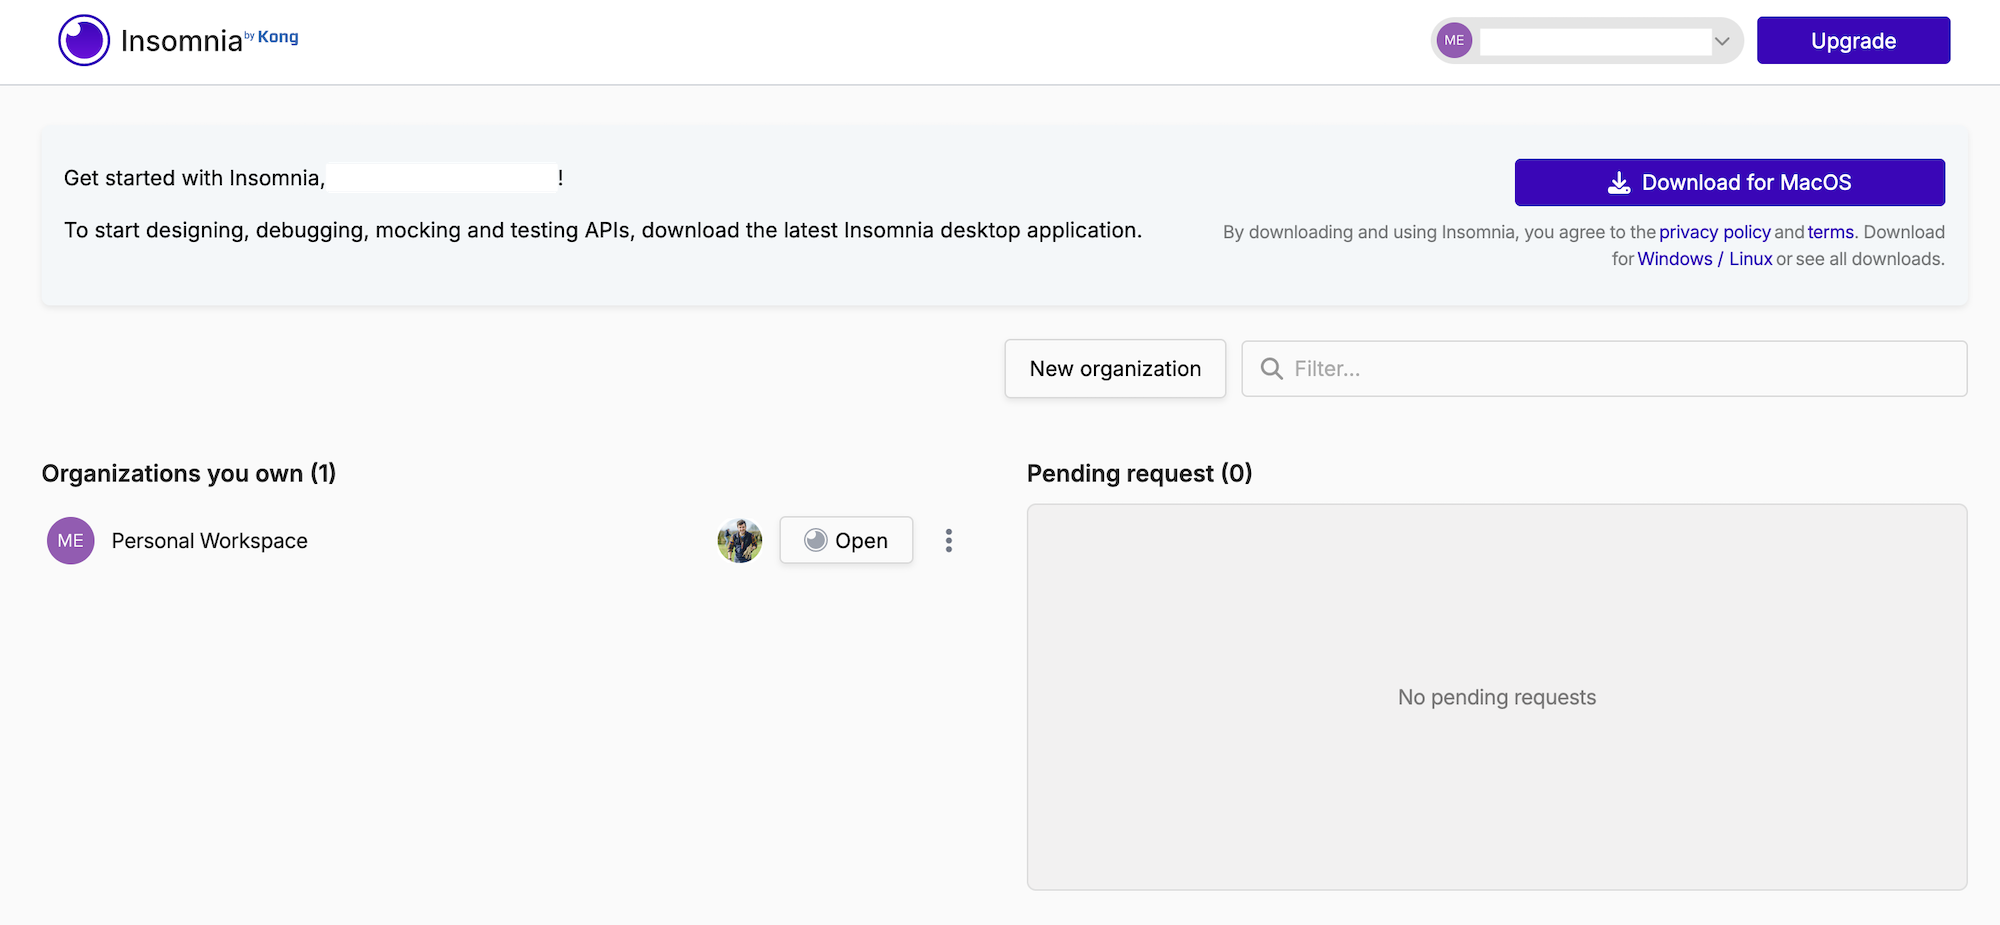
When your account has been created you will see a simple dashboard, which is mostly for account management. To do anything meaningful in Insomnia you need to download the Desktop application.
Step 3) Create a Collection #
When you open up Insomnia you will have an empty project, a blank canvas which needs to know about our API. The next step is to create an Insomnia collection, which will store all of the example requests and responses to help show off how the API should work.
The goal is to convert our OpenAPI into a Collection which will be full of requests and responses for the OpenAPI operations that have already been defined, which will avoid having to manually create all these requests and responses. Thankfully Insomnia supports OpenAPI too.
Bump.sh users will already have an OpenAPI document somewhere in the form of a openapi.yaml or openapi.json, and this will be on a Git repository or in the filesystem somewhere.
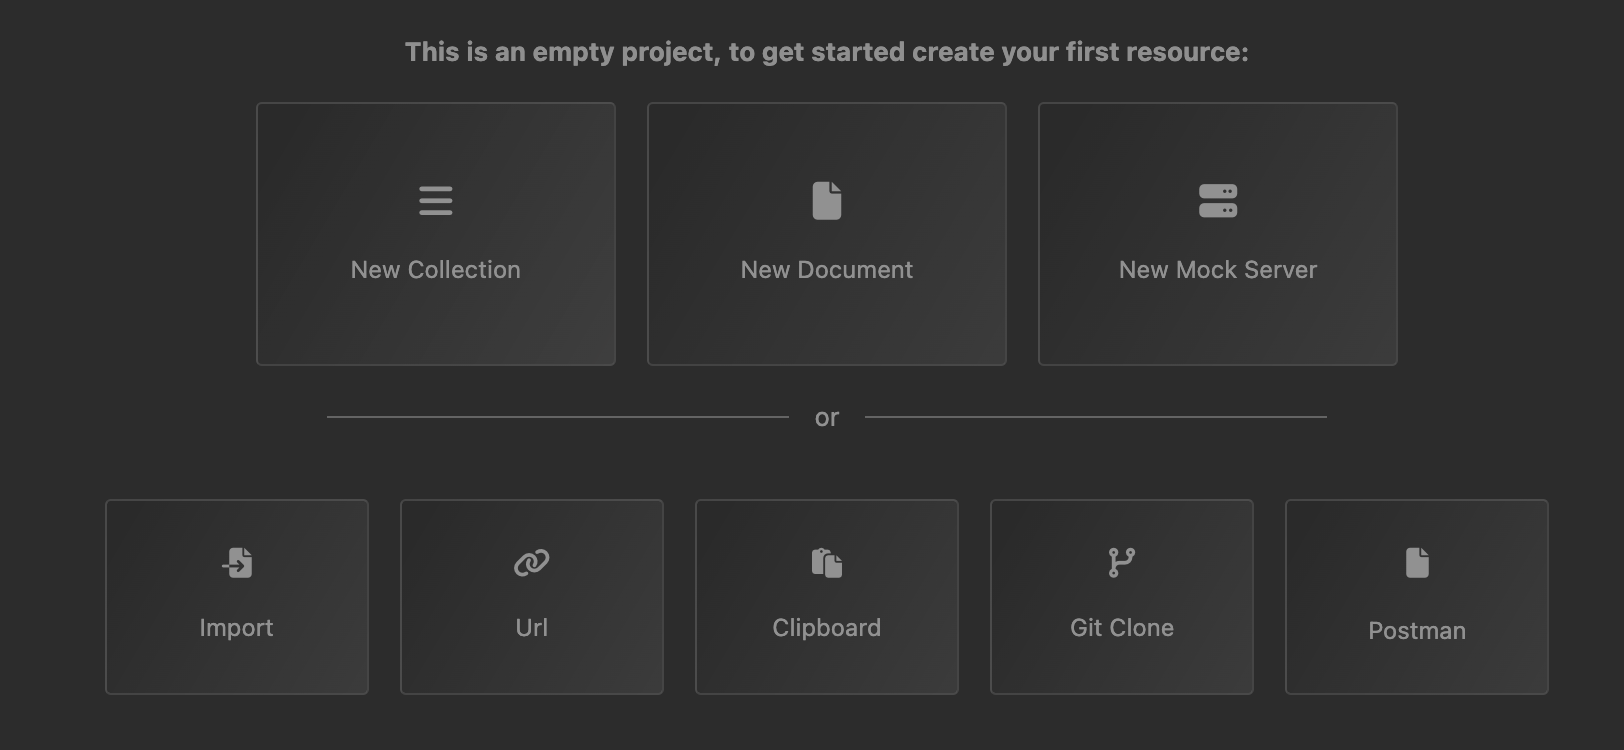
Via Git
You can Git Clone your repository through Insomnia if you have a paid “Team” account, which will help keep the project in sync over time.
Via Import
Free users can create a collection by clicking “New Collection”, and giving it a name.
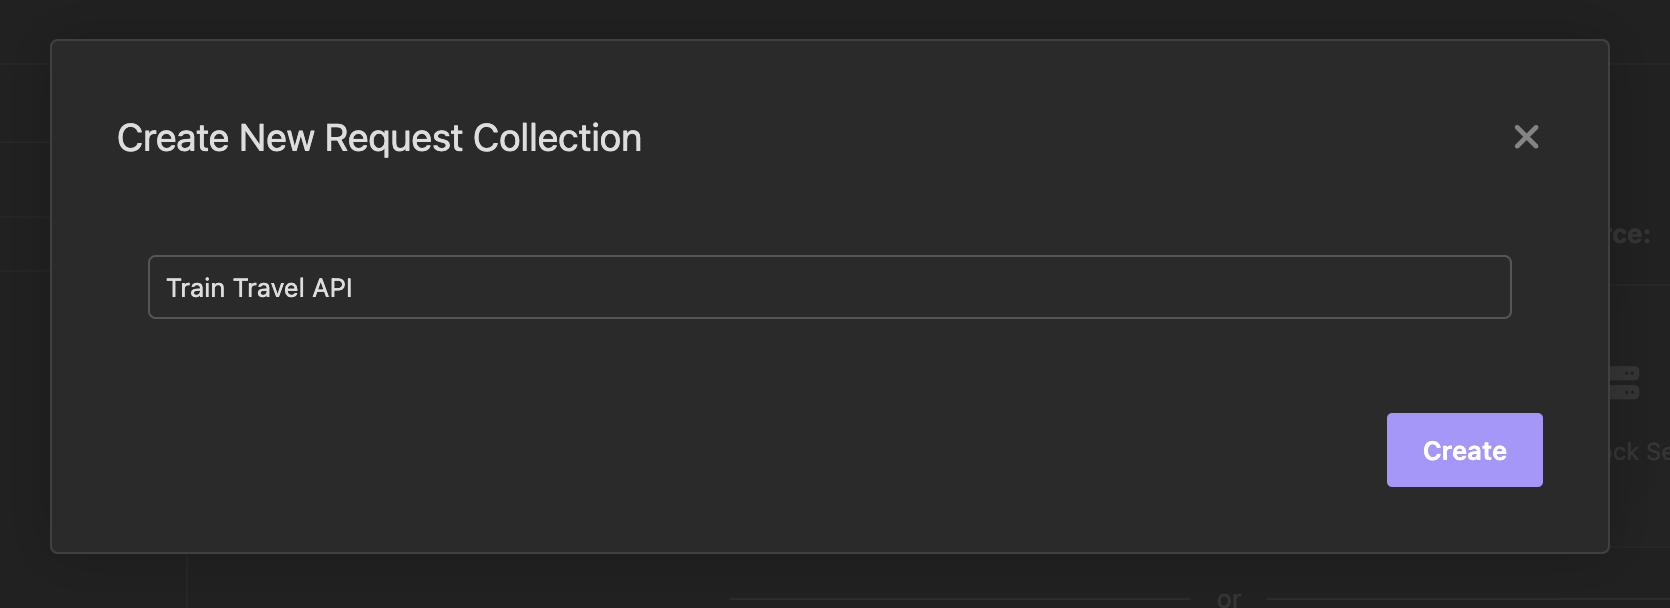
Once the collection is made you can click on the “…” and click “Import”.

Then select OpenAPI document.
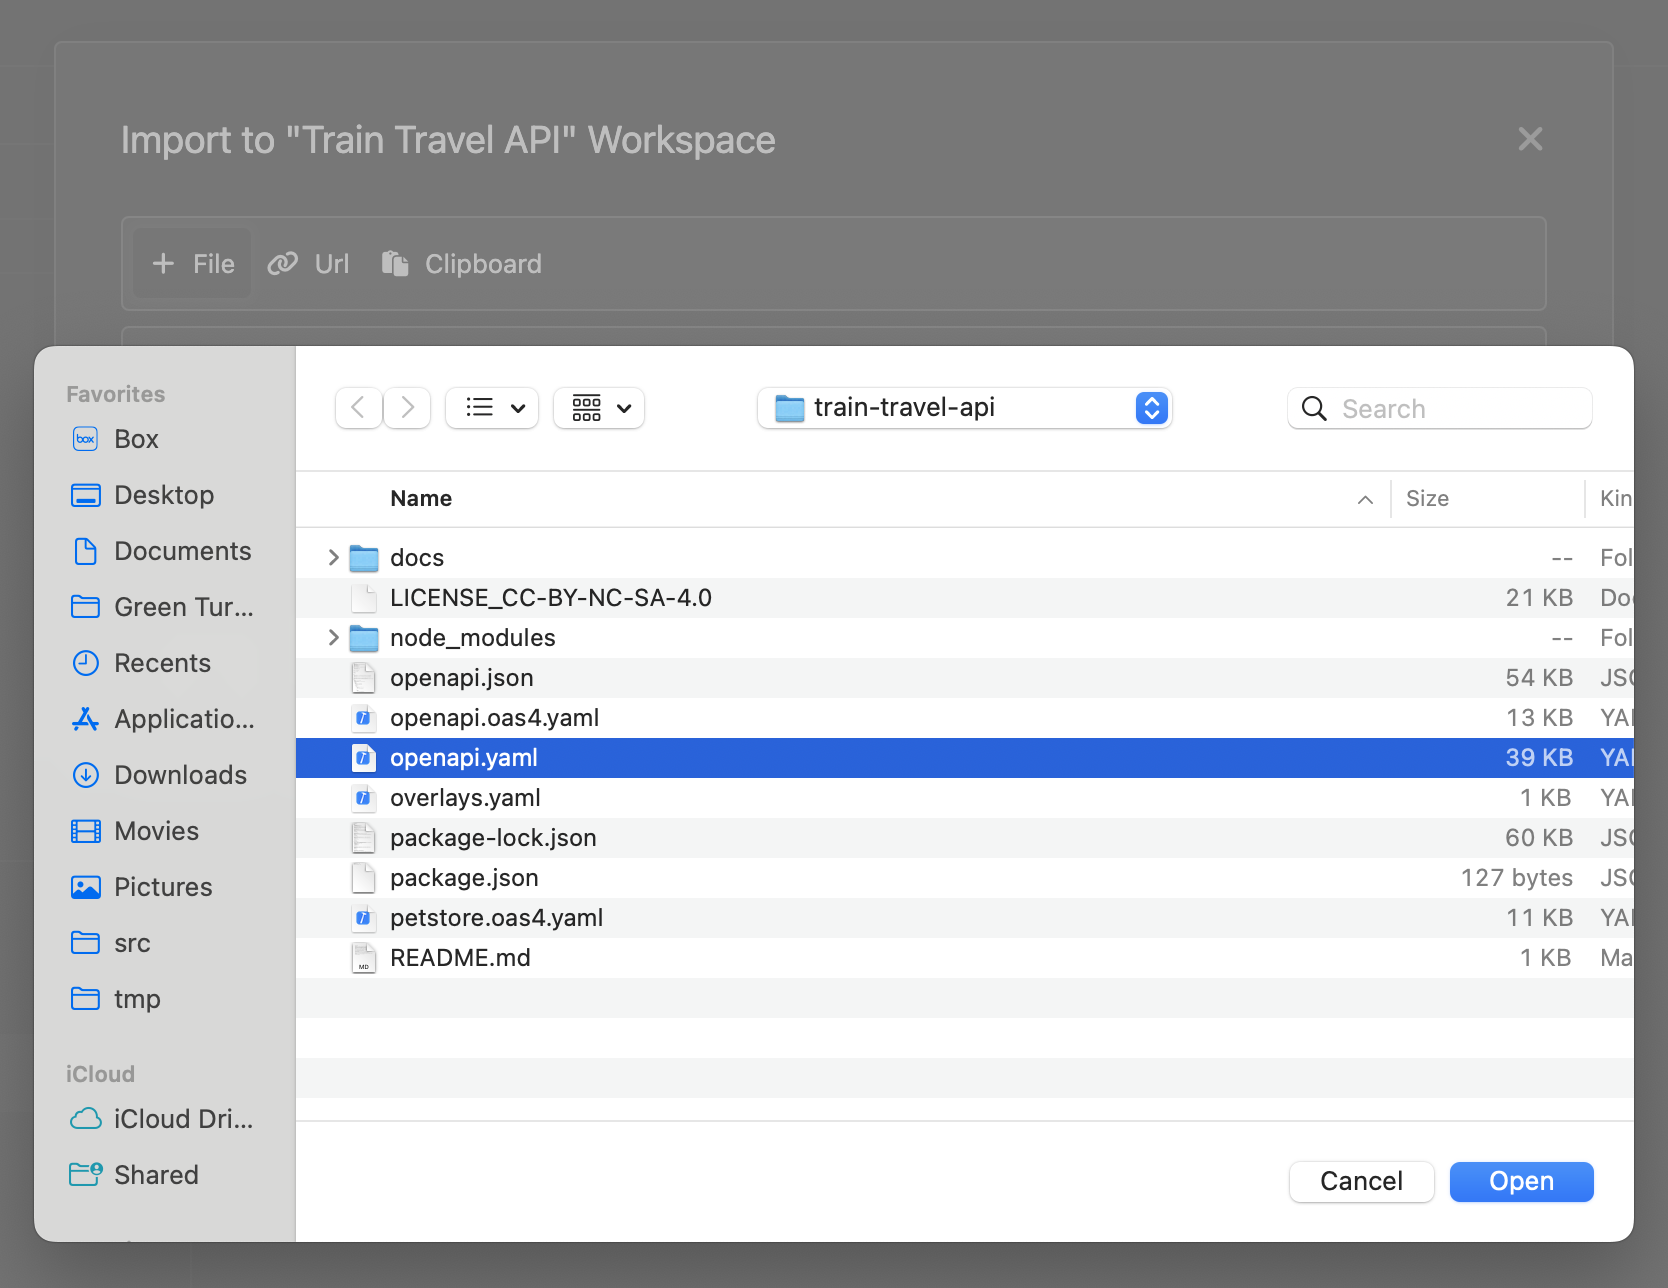
This approach means the collection will get out of date over time, but will help you at least see how this whole thing works, and Git sync can be enabled later if you feel like its worth upgrading.
Whichever way you do it, you’ll see the new Insomnia Collection created for your API, so now we can play around with it.
Step 4) Fixing Environment Variables #
Insomnia supports the idea of Environments, which means you can have one for “Development”, one for “Production”, others for sandboxes, mock servers, etc. It will create an OpenAPI Env which is pre-populated with various values from the OpenAPI document you imported from. To select this, click the dropdown which defaults to Base Environment, and select “OpenAPI env”.
The OpenAPI import for Insomnia currently seems to have a few snags, because on importing the Train Travel API it was showing errors about bad environment variables.
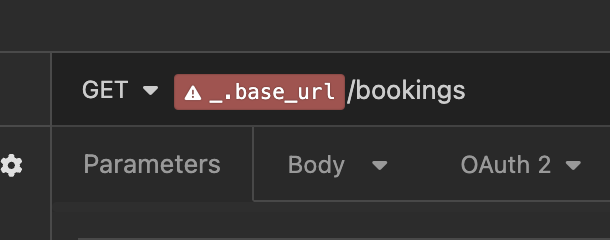
Clicking on that variable in the URL will show the following error:
“attempted to output null or undefined value”
This can be fixed by selecting the _.host variable.
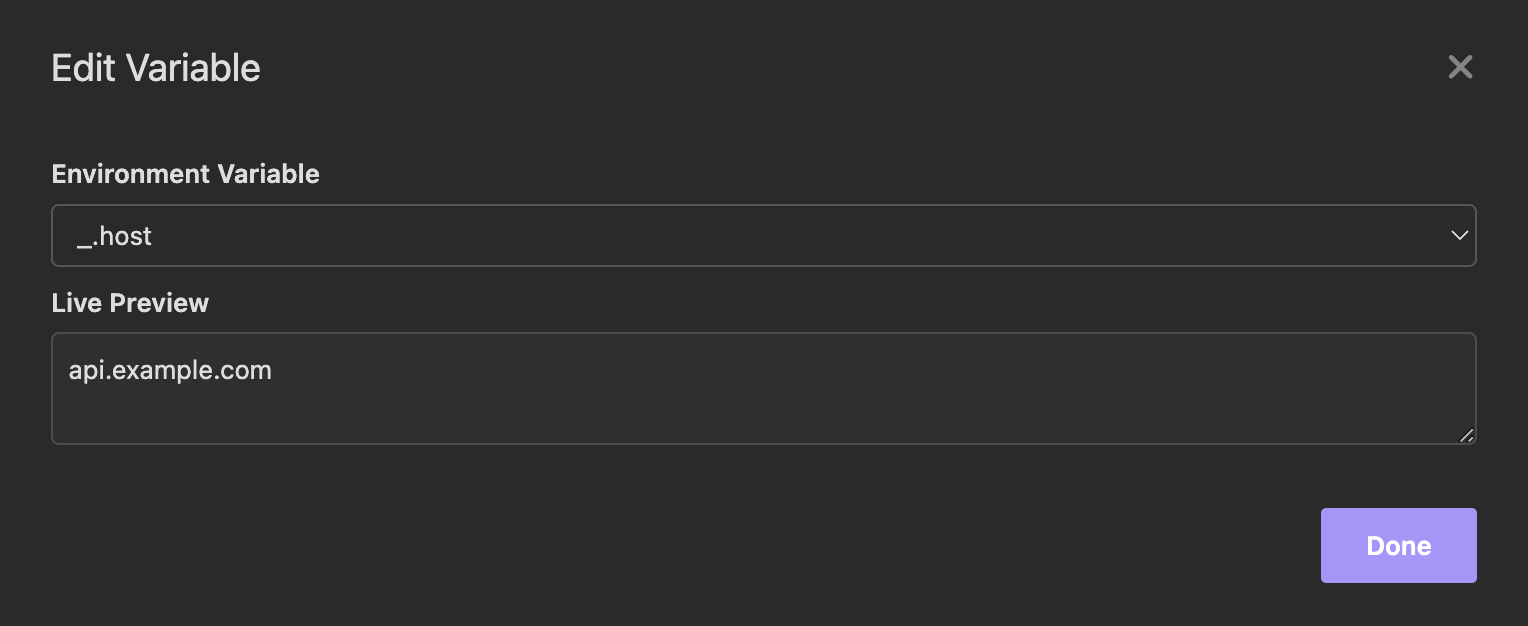
Doing this for each operation is not ideal, but the Insomnia team are aware of the problem and hopefully this will be resolved soon.
Step 5) Updating Broken Parameters #
Another quirk with the Insomnia import comes from it created environment variables for all path parameters, which are then not found in the environment so more errors appear.
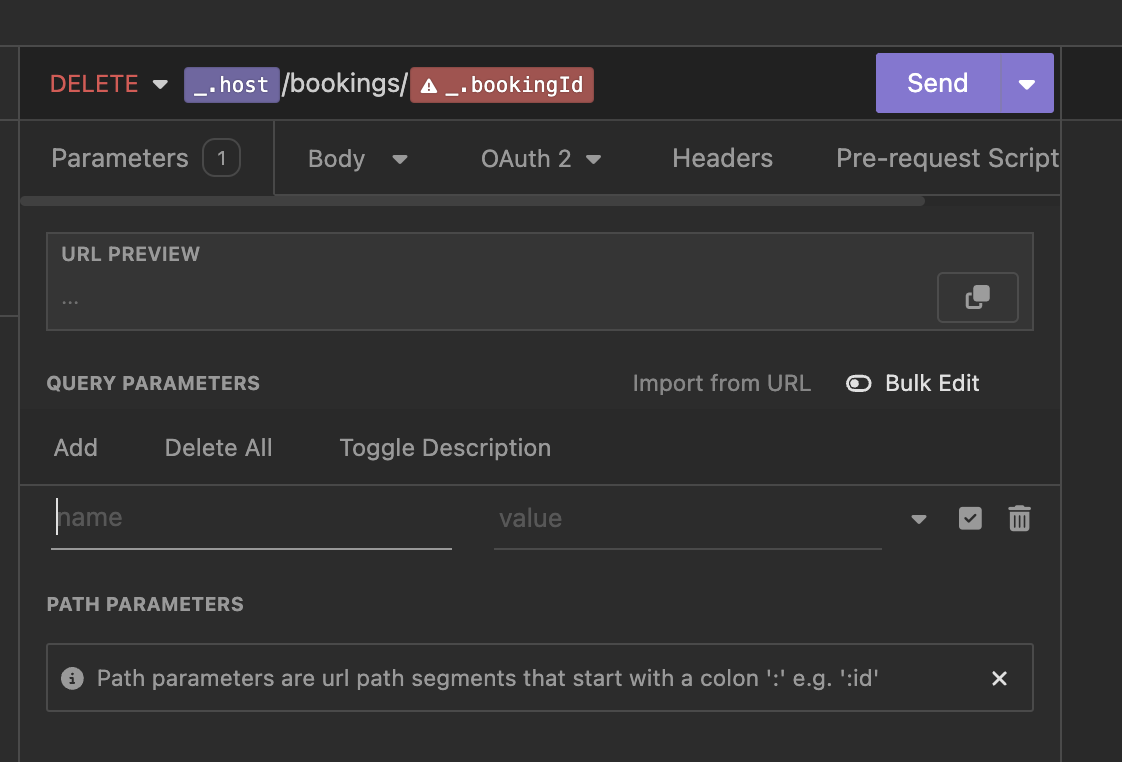
Fixing this requires the URL to be edited, removing that broken variable with the backspace key, and writing in :parameterName. You’ll know it’s worked when a box appears in the Path Parameters list.
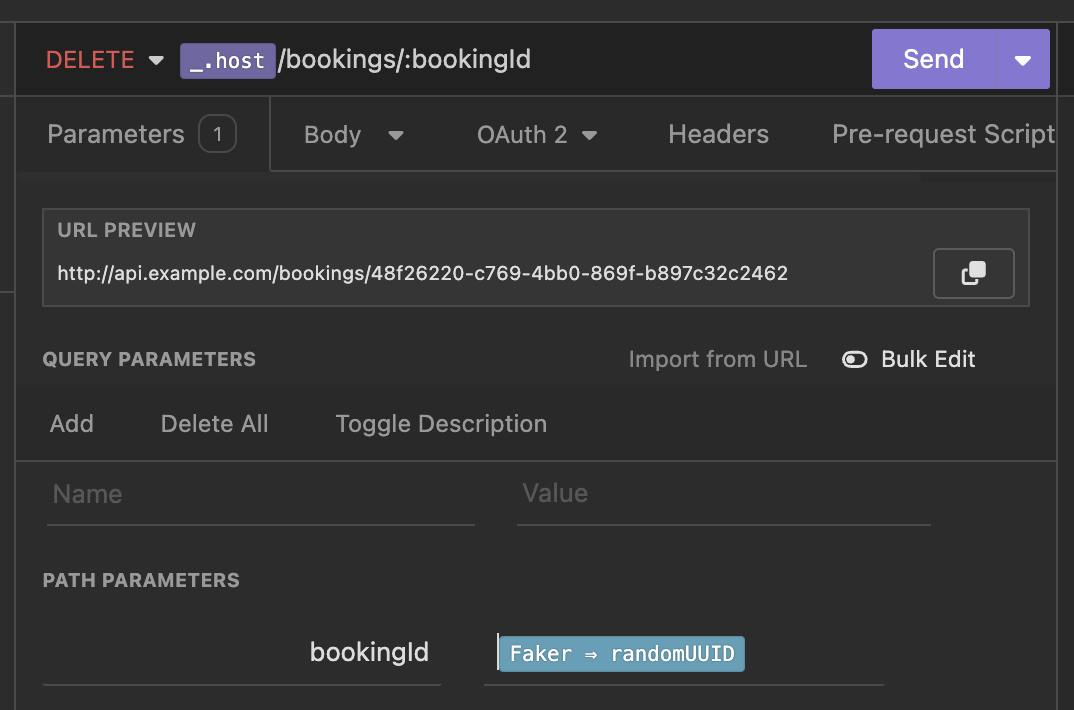
Whilst these bugs are fixed up, it’s a good chance to work through the parameters and add example values, or pop in dynamic ones. See what autocomplete suggestions pop up when you type things like “uuid” or “email”, or any other faker value.
Step 6) Publish Collection #
Export the collection as a Insomnia JSON, and publish that somewhere public.
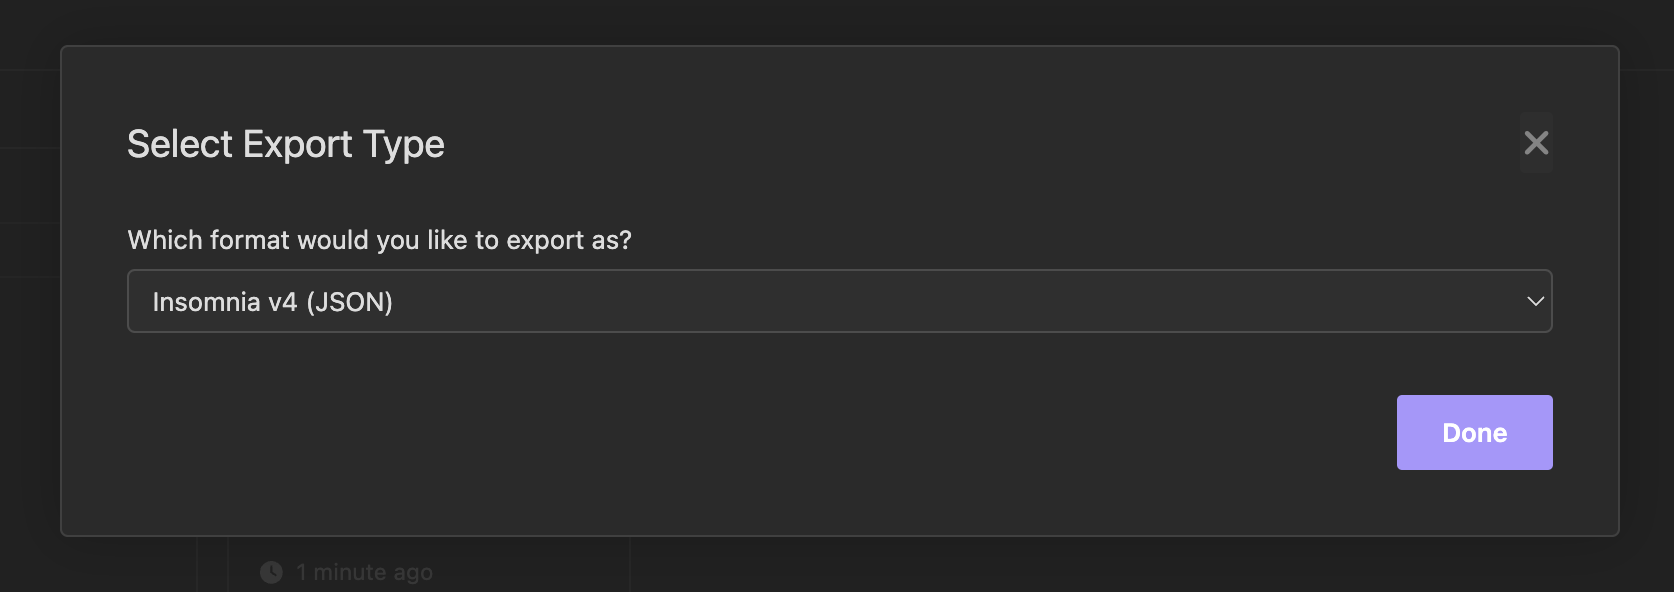
One place for that might be in an insomnia/ directory in your main API source code and/or documentation repository.
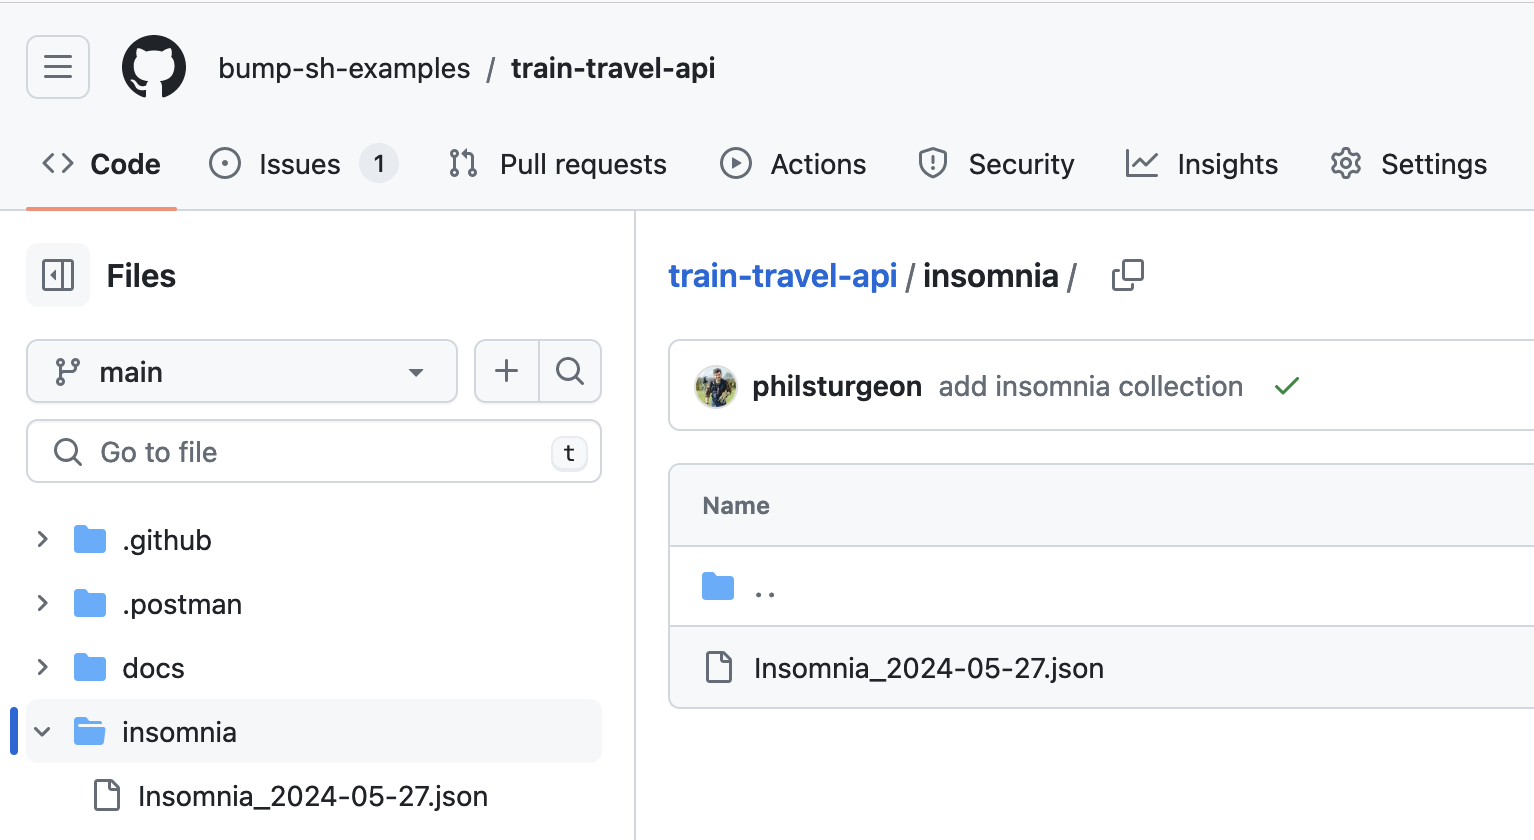
Wherever it goes, make sure it is accessible via a public URL, which if it’s on a GitHub public repository can be found by click on the file and clicking Raw:
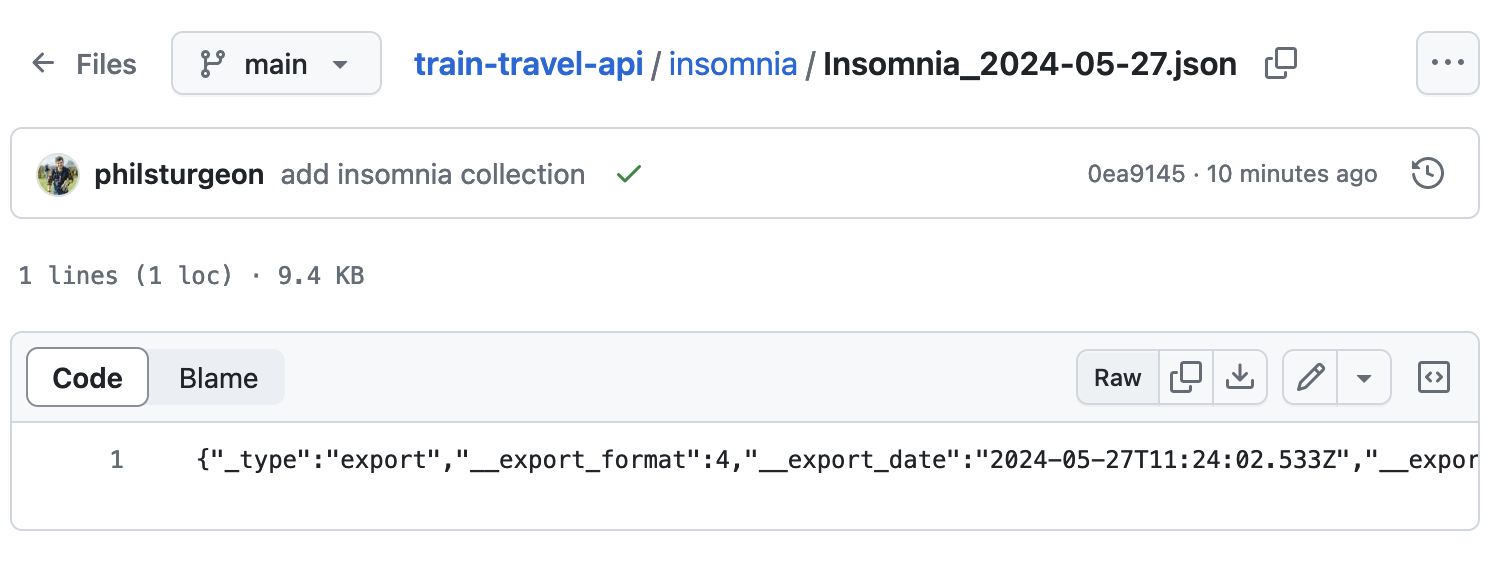
This gives you a URL for the Insomnia collection like this:
https://raw.githubusercontent.com/bump-sh-examples/train-travel-api/main/insomnia/Insomnia_2024-05-27.json
Now we can use that URL for the next step.
Step 7) Create “Run in Insomnia” Button #
Buried in the Preferences page under Data there’s a link to the Create Run Button applet. Open this page up and copy that public URL into the text box.
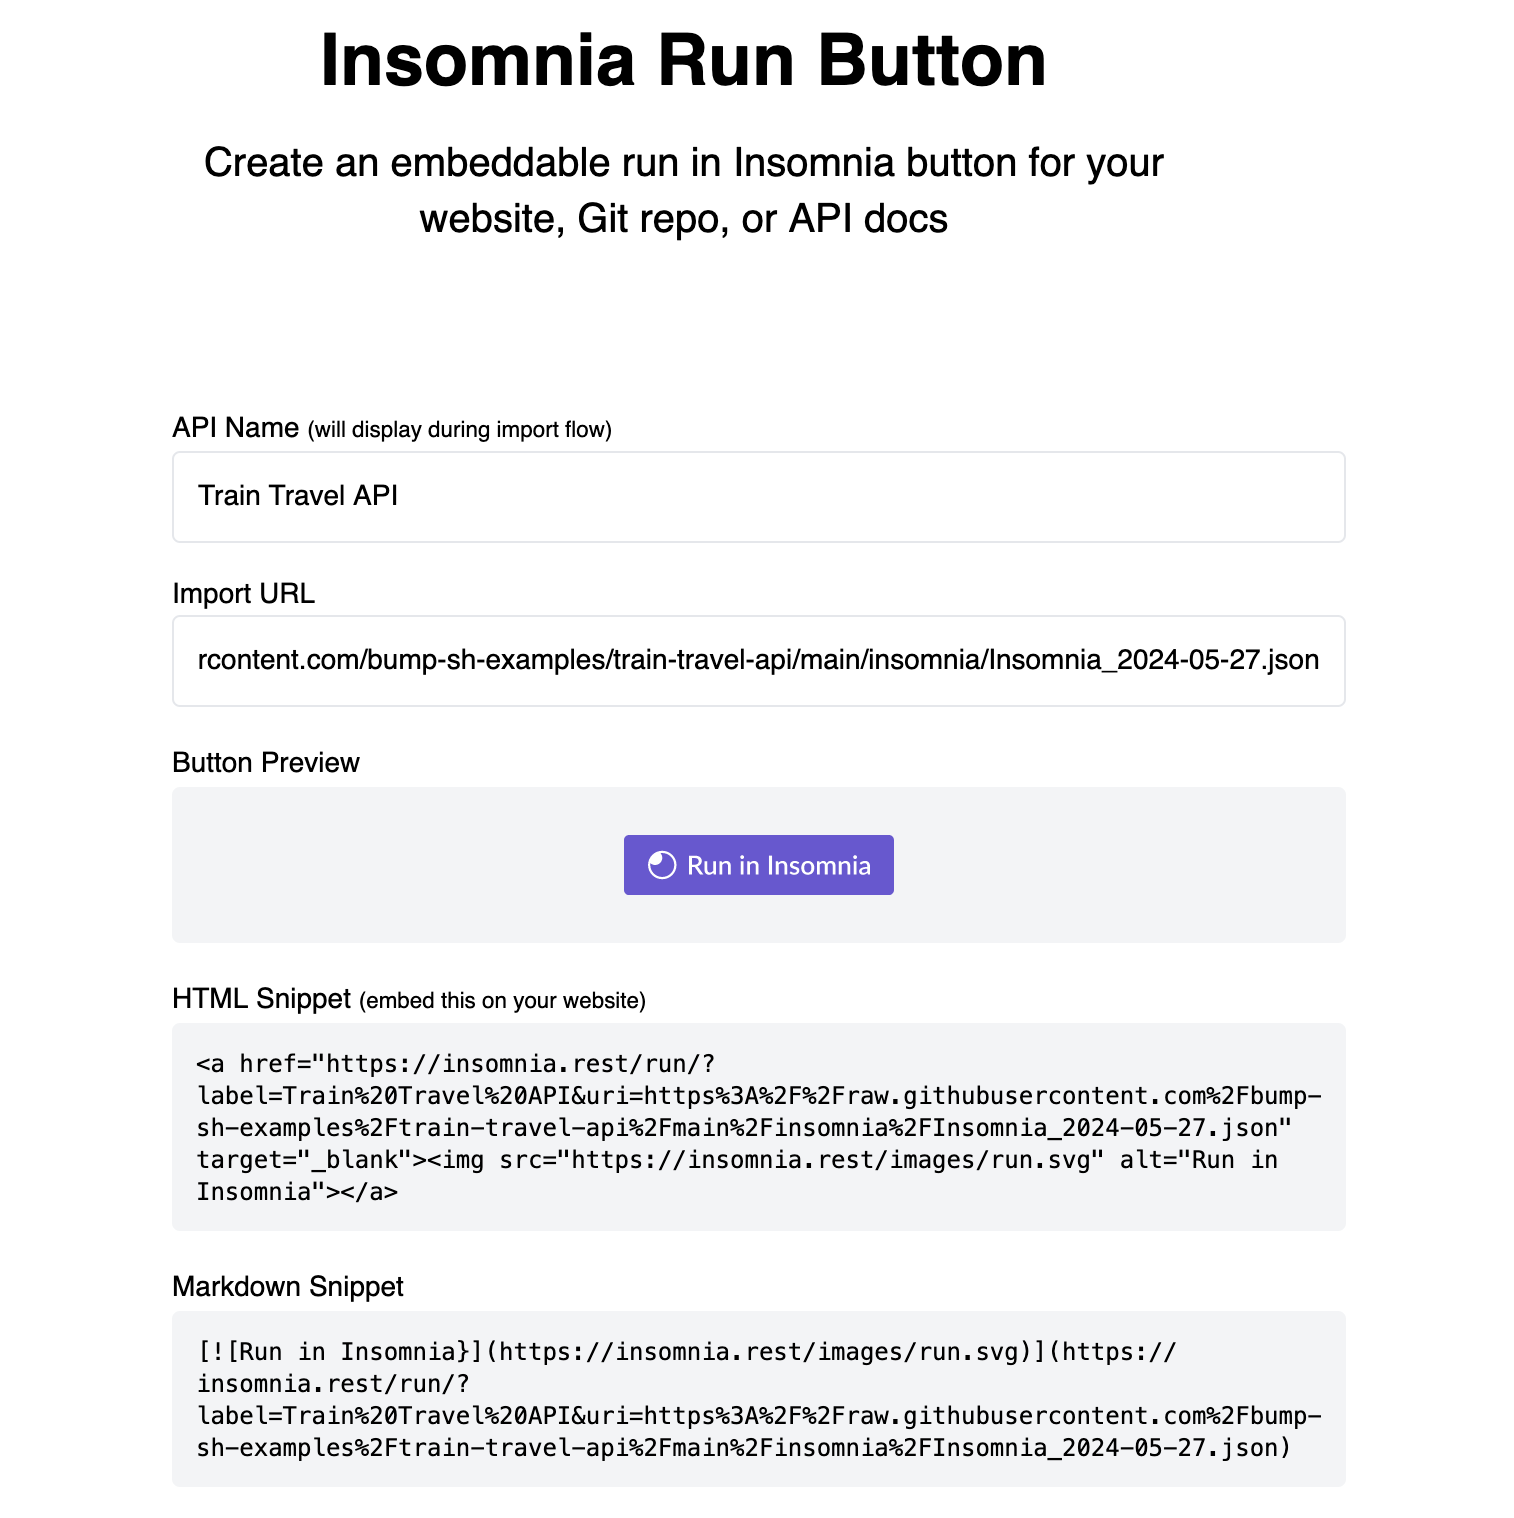
Take that Markdown, and pop it into your OpenAPI somewhere. The easiest place to put it is right in the info.description property.
openapi: 3.1.0
info:
title: Train Travel API
description: |
API for finding and booking train trips across Europe.
## Run in Insomnia
Experiment with this API on Insomnia, using our Insomnia Collection.
[](https://insomnia.rest/run/?label=Train%20Travel%20API&uri=https%3A%2F%2Fraw.githubusercontent.com%2Fbump-sh-examples%2Ftrain-travel-api%2Fmain%2Finsomnia%2FInsomnia_2024-05-27.json)
A better place for this button might be a dedicated Topic, using the
x-topicsextension supported by Bump.sh documentation.
To see how this looks in Bump.sh before pushing it live, you can use the Bump.sh CLI’s preview command.
npx bump-cli preview openapi.yaml --live
The command will return a link, click that and see how the documentation looks.
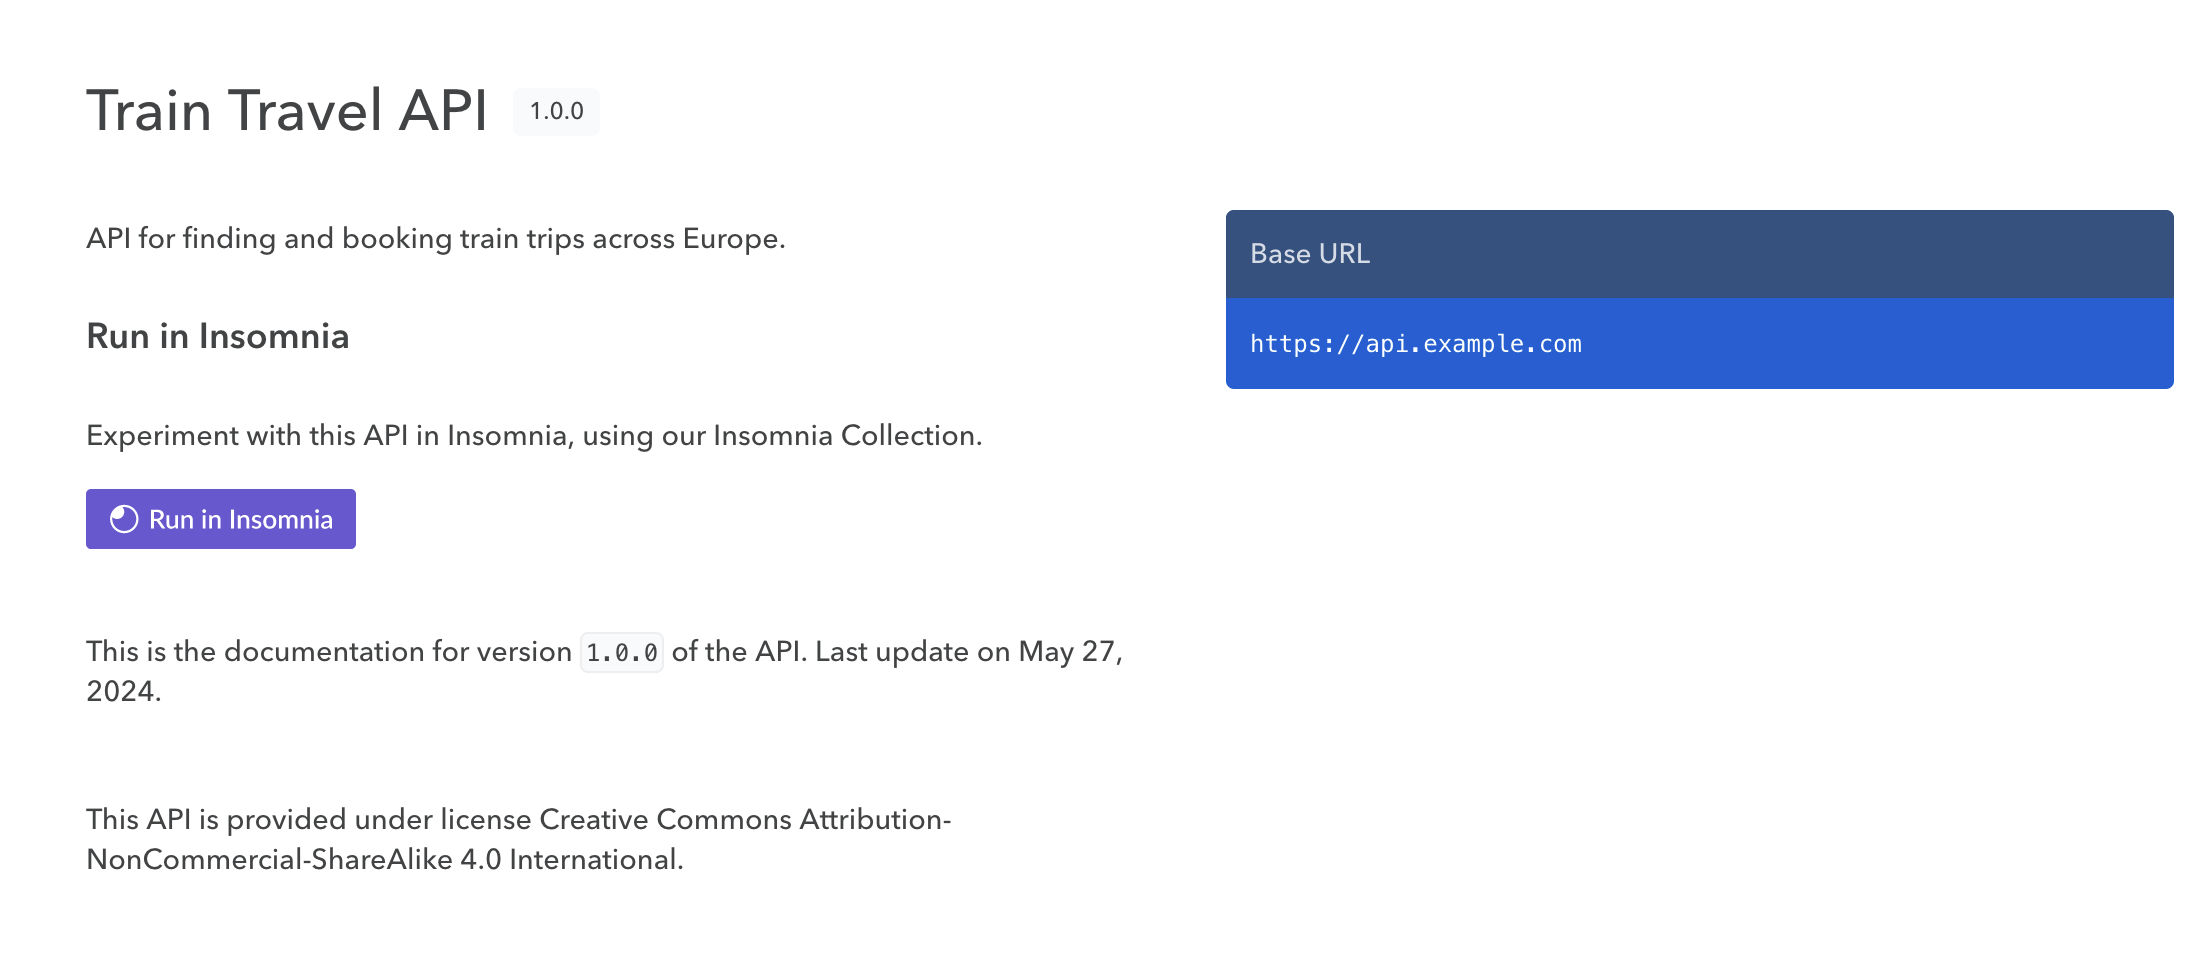
When you (or your users) click the new Run in Insomnia button, they’ll be asked to import your collection to their own workspace, and now they can interact with your API on their own computers making requests with all the parameters and authentication options set up for them!
